
Shelving accessories rarely decide a project's budget, yet they are among the first items a guest or homeowner notices in a bathroom, and among the last items still missing at handover. This guide explains how buyers, contractors and designers specify Santerson Shelving Accessories for hotel guest bathrooms and villa projects: what to fix before you order, which details to put on the shop drawing, and how the accessories coordinate with the vanities, mirror cabinets and lighting you have already selected.
What "Shelving Accessories" Covers in a Project Bill of Quantities
In the SANTERSON catalogue, Santerson Shelving Accessories sits in the Lighting & Accessories group of the bathroom range, alongside Santerson Towel Warmers & Rails, Santerson Wall Sconces and Santerson Decorative Fixtures. These are small, configurable items: finish, layout and dimensions are specified per project rather than chosen from a fixed size grid.
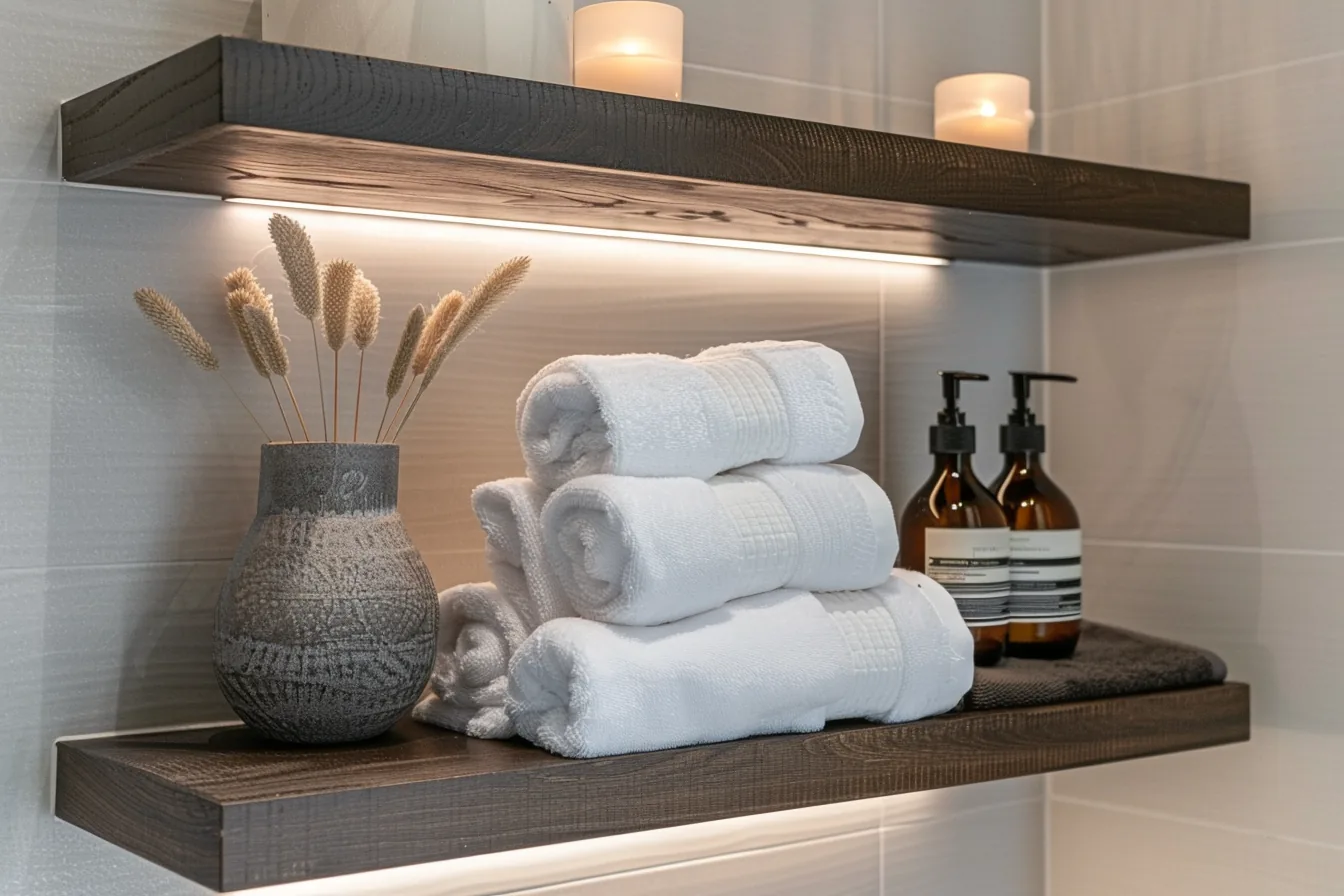
That is different from the Open Shelving line – Floating Shelves, Niche Shelving, Glass Shelves and Metal Frame Shelves – which carries the larger exposed shelf runs. In practice a guest bathroom often takes both: an open shelf for towels and amenities, plus accessories such as rails, hooks, glass or metal shelving components and small fittings that finish the wall. List them separately in your BOQ so nothing is dropped when the joinery package is priced.
Step 1: Fix the Room Type Before You Fix the Finish
A hotel guest bathroom and a villa family bathroom are specified differently, and the difference drives the accessory schedule.
| Project setting | What the accessories must do | Specification points to close out |
|---|---|---|
| Hotel guest bathrooms (repeated identical rooms) | Hold daily amenity use, survive housekeeping cycles, look consistent across every room type | One approved finish and size per room category; mounting detail for the wall build-up in use; replacement parts held on site |
| Villa main bathrooms and ensuites | Match the joinery and hardware language of a fitted interior | Finish sampled against vanity fronts, mirror frames and taps; made-to-measure sizes set from the tiled dimensions |
| Villa guest wings and poolside bathrooms | Carry higher turnover with lighter storage provision | Simplified accessory set per room; clear separation of wet-zone and dry-zone items |
| Service and laundry areas | Support bulk storage without interfering with appliances | Coordination with Stacked Laundry Units and tall cabinets; load and clearance for the items stored |
For hospitality work, decide the accessory set per room category – standard, suite, accessible, villa guest – and issue it as one schedule. Repeating a single approved detail across identical rooms is what keeps variation, rework and site queries under control.
Step 2: Specify Finish and Material Against the Surrounding Package
Accessory finishes read against a large background: wall tile, stone countertop, mirror cabinet frame, tapware. Specify them together, not as an afterthought.
- Take the finish from the hardware you already own on the project – tapware and shower set finish first, then mirror frames and cabinet handles. The catalogue lists material and finish options for these items; request physical samples rather than relying on screen images.
- Keep metal tones consistent within one room. Where a design deliberately mixes metals, keep one dominant tone and let the accessories carry the secondary tone in small quantities only.
- Match the substrate decision early: glass shelving components need a glass specification and fixing detail; metal-frame items need the frame material and finish confirmed for the location they will be used in.
- In villa projects with fitted joinery, ask for the accessory finish to be produced to the same batch standard as the vanity and mirror cabinet so tones do not drift between packages.
Step 3: Set Dimensions From the Tiled Wall, Not the Drawing Grid
The product page states that dimensions are project-specific. Treat that as a workflow instruction, not marketing language.
- Issue accessory sizes after the wall set-out is fixed – tile layout, waterproofing build-up, plasterboard thickness and any recessed caddie frame all change the finished face of the wall.
- Record clear dimensions at the finished surface: distance between vanity edge and shower enclosure, height above the basin tap, shelf depth against the mirror cabinet projection.
- Note the fixing method for each item on the drawing. Solid substrate, cavity batten or tile-only fixing are different details, and a shelving component specified for one will not simply move to another.
- Where an accessory is supplied as part of a wider fit-out with wall panel systems or cladding, confirm the total build-up thickness so fixings reach solid support.
Shop-drawing checklist for each accessory line
- Item name, room reference and quantity per room type
- Approved finish, with sample reference code
- Finished width, depth and height; tolerance allowed
- Substrate and fixing detail, including waterproofing penetration rules
- Load expectation for the items to be stored
- Electrical items separated out: integrated cabinet lighting, vanity lighting and illuminated mirror cabinets go to the electrical drawing, not the joinery drawing
Step 4: Coordinate With the Rest of the Bathroom Package
Because SANTERSON supplies furniture and building materials in one programme, accessories can be ordered inside the same production and shipment plan as the larger items. That is where the commercial value sits: one specification round, one production slot, one container.
| Package | Co-specification point with shelving accessories |
|---|---|
| Vanity and countertop | Shelf height above the basin and tap spout reach; clearance for a vessel basin mounted above counter |
| Mirror cabinets | Door swing and handle projection versus adjacent shelf depth |
| Storage units and tall cabinets | Whether toiletries live behind doors or on open shelving – this decides how much accessory shelving each room needs |
| Shower systems | Niche and shelf positions set before tiling, so the enclosure glass does not clash with an accessory |
| Lighting | Sconce back boxes and cable outlets located clear of shelf fixings |
Buyers who group these items into a single enquiry usually close the specification faster than those who buy accessories last. The service pages describe design consultation, material selection and product specification, manufacturing and quality control, project management and site coordination – use that sequence to bring accessory schedules into the same approval round as the vanities.
Step 5: Order, Deliver and Install Without the Last-Minute Gap
- Order in room blocks. Package accessories by floor or wing so the installer receives complete sets rather than a mixed pallet.
- Confirm quantities against the approved room schedule, then hold spares for at least one full set per room type – small accessories are the items most often lost between delivery and handover.
- Agree the delivery scope in writing. The logistics pages describe freight forwarding, customs documentation, packaging and container loading, with door-to-door delivery. Import terms, duties and delivery address responsibilities differ by project, so confirm them for your site rather than assuming a standard arrangement.
- Book accessories into the installation programme after the wet trades are complete, and inspect each item on arrival against the approved finish sample before it is fitted.
- Close out with the snags list. The service pages cover on-site installation, inspection, warranty coverage and spare parts; keep accessory items on the snag sheet until every fixing is secure and every finish is undamaged.
Common Specification Mistakes
- Sizing accessories off architectural drawings that do not show the finished wall face – the most frequent cause of shelves that will not sit level on a tiled surface.
- Choosing a finish from a catalogue image with no physical sample against the tapware already on site.
- Treating electrical accessories as joinery items, then discovering at first fix that no cable was pulled to the shelf position.
- Loading glass shelving components beyond what the fixing detail supports; state the intended load on the schedule.
- Buying accessories as a late variation, outside the main production and shipment plan – this is how small items end up on a separate, expensive airfreight.
FAQ
Can Santerson Shelving Accessories be made to non-standard sizes?
Yes. The product page states that finish, layout and dimensions can be specified for each space, and configuration lists made-to-measure sizing with material and finish options. Send the finished-face dimensions and substrate detail with your enquiry.
Where do shelving accessories sit in the catalogue?
They are listed under Sanitary Fixtures / Bathrooms / Lighting & Accessories. Larger open shelf runs sit under the Open Shelving collection, and tall storage with open shelves sits under Tall Cabinets.
Can accessories be shipped with the rest of a hotel or villa package?
Yes – they can be produced and shipped within the same programme as vanities, cabinets, lighting and other fit-out items. Confirm packaging, quantities per room block and the delivery terms for your project at quotation stage.
What should I confirm before approving production?
Finish sample reference, finished dimensions with tolerance, fixing detail for the wall build-up in use, load expectation, and for any powered item the electrical specification. These are exactly the points the product page flags for confirmation on each configuration.
Send us your bathroom accessory schedule
Share your room schedule, finishes and dimensions and our team will confirm specification, production and delivery options for your hotel or villa project. Enquiries: PHILLIP, +86-13928214007 (phone / WhatsApp), contact page.
Explore the range at Santerson Shelving Accessories, part of SANTERSON interior fixtures.